The Vegetable Garden
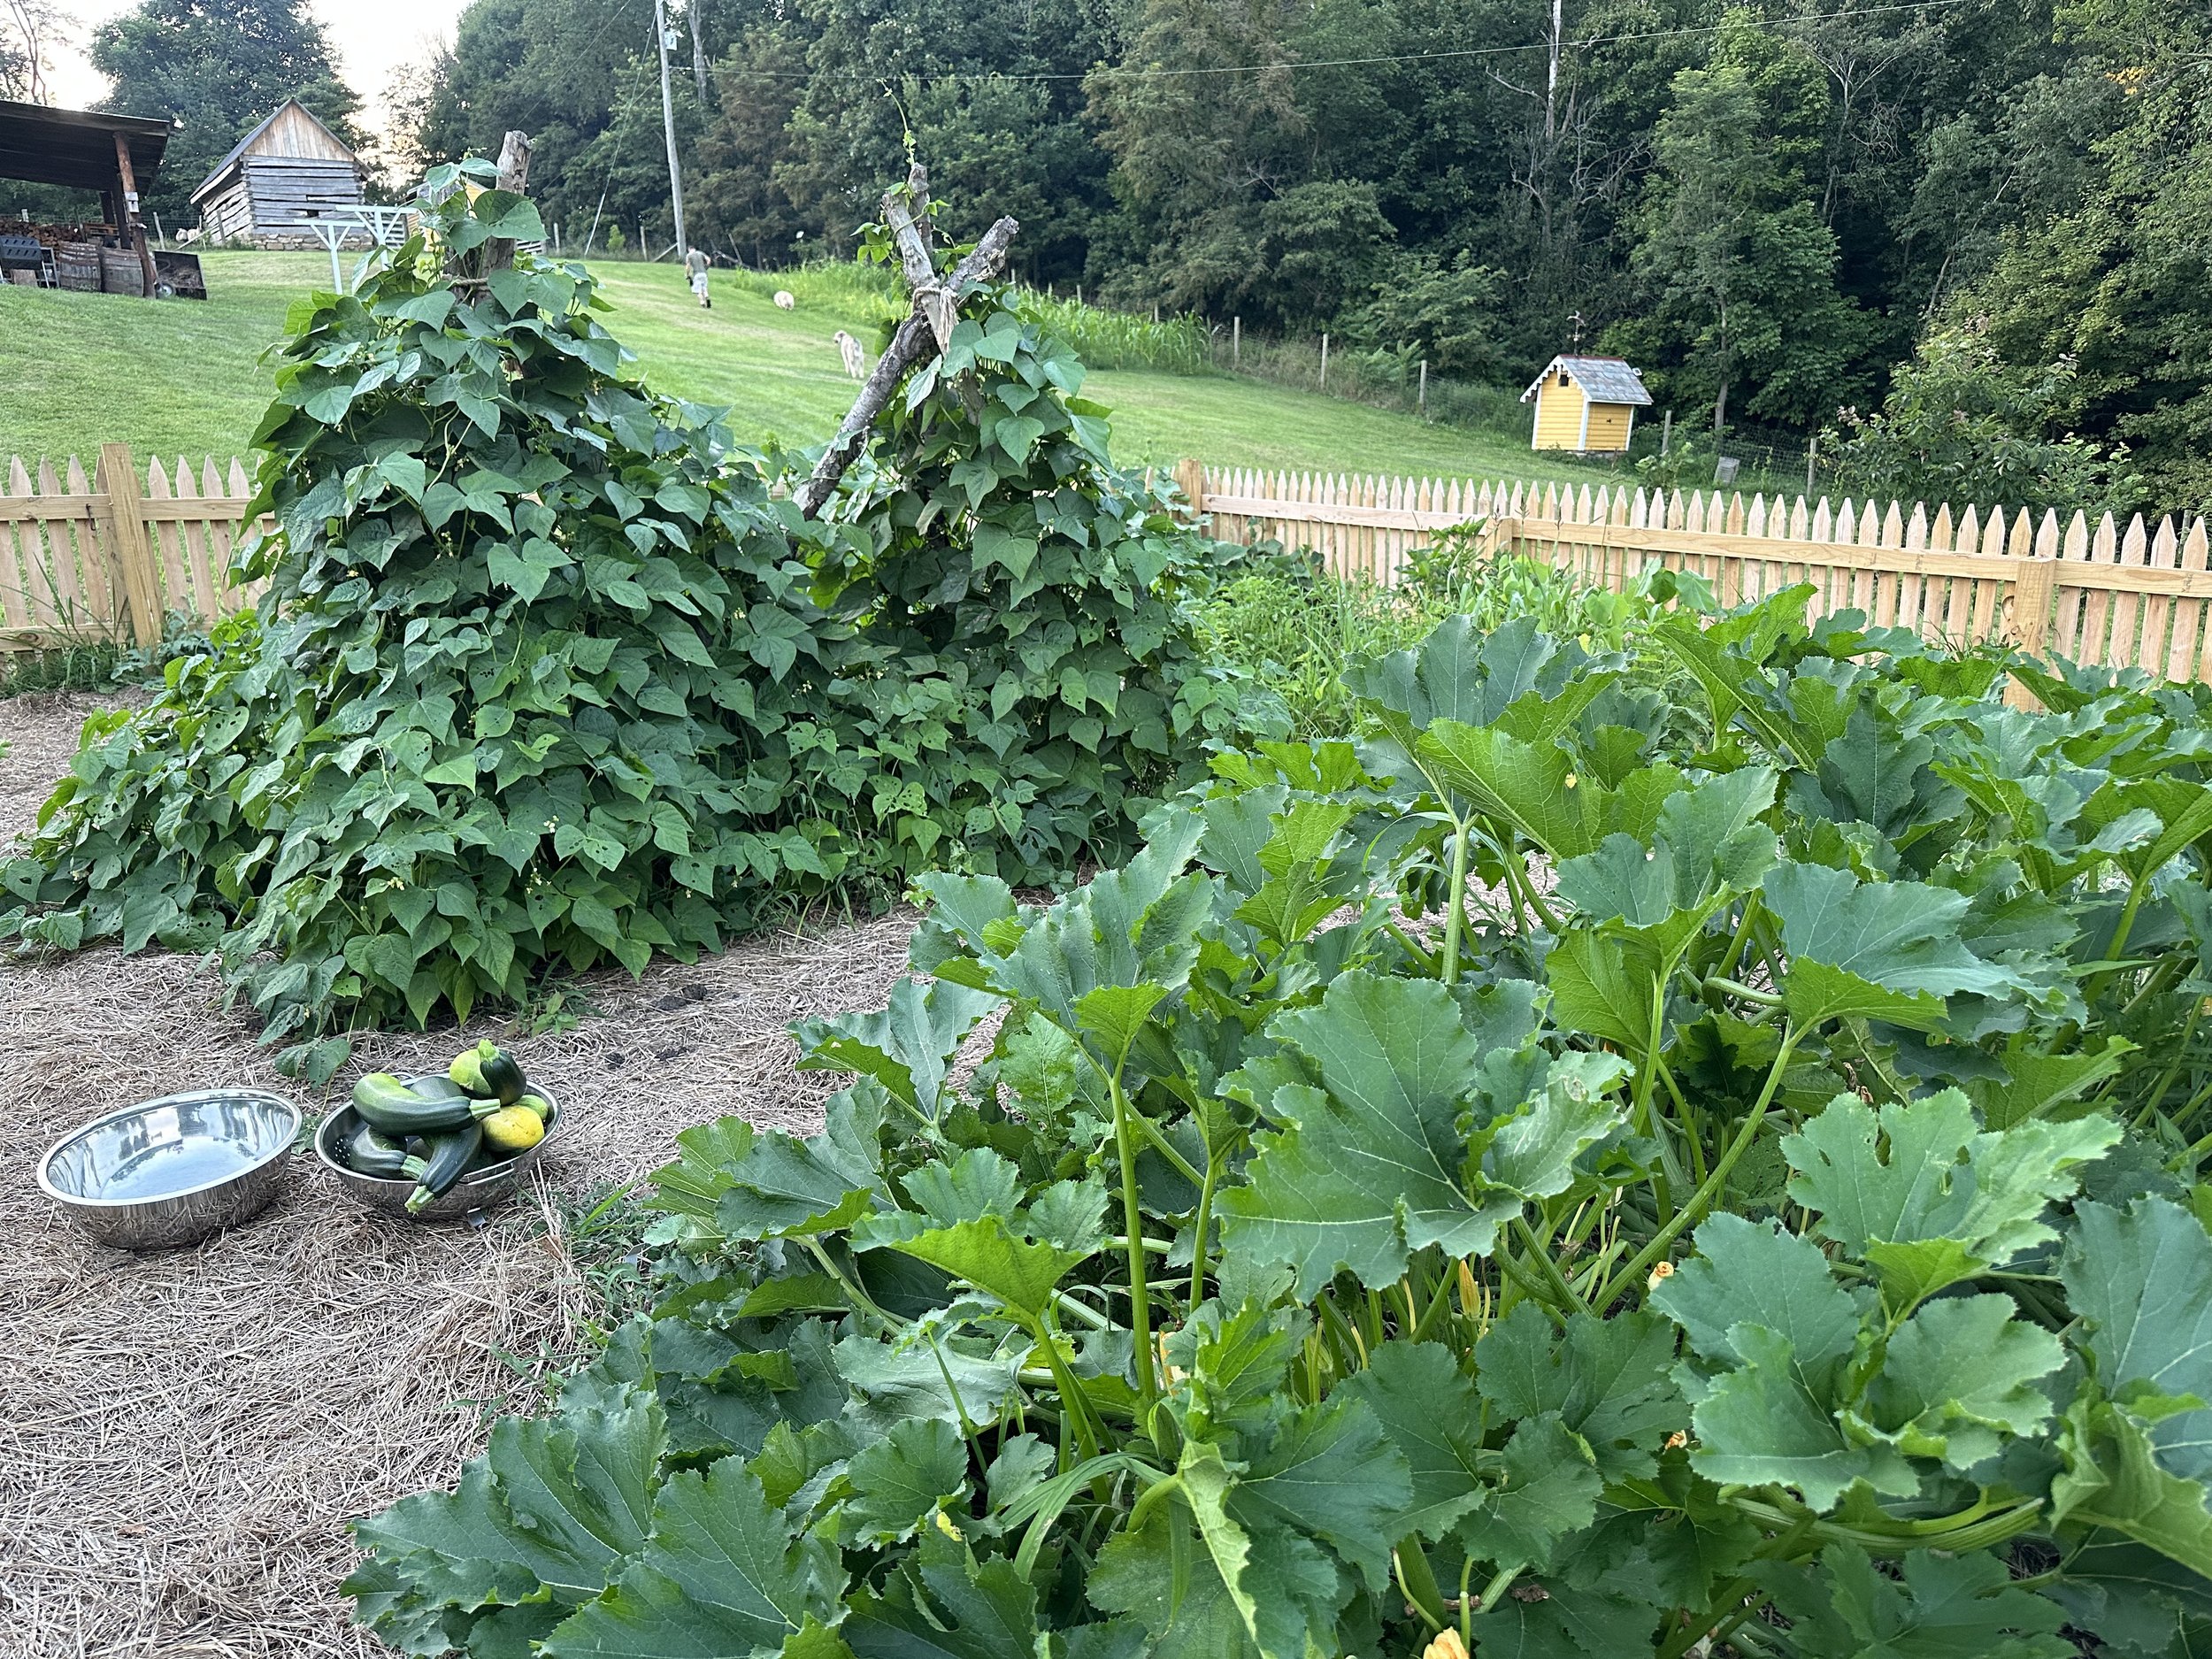
The view of the Vegetable Garden from the Orchard
For as long as David and I have lived at the farm, I’ve dreamed of an enormous garden surrounded by a picket fence. Last spring, after losing our entire garden to marauding bunnies, we decided to make my dream a reality.
First some background… I am a girl who has gardened her entire life. In junior high school, I had a friend whose father sent me home from a weekend sleepover with cuttings from a cherished clematis that grew beside their patio. But until 2007, I had never grown a single vegetable. I was a flower garden kinda girl. Vegetables scared the hell out of me. Companion planting, planting schedules, seed starting… it all seemed overwhelming and messy and just too much for my suburban brain to handle. But then I married David. David thought that my extensive flower gardens were beautiful but vegetable gardens were the ultimate goal. Growing your own food? That was where I needed to be putting the bulk of my effort, He built me a raised bed at our little town house with a tiny quarter acre yard and I grew my first vegetable garden. It was at that moment that I realized that gardening was not simple and that a garden could lift your soul and then immediately rip your heart out of your chest. Half of my vegetable garden failed that year. I spent a month or two lamenting my inept stupidity and then braced myself to try again with the knowledge I had gained. I was hooked.
Every year since, my garden has grown. What started as a 8x10 raised bed has become over an acre of land devoted to growing our own food. Our homestead contains a berry garden, an orchard with over fifty fruit trees, and 3 garden spaces devoted to vegetables. This particular garden space is the vegetable garden. At over 2000 square feet, it contains space for as many vegetables as you could possibly desire. Last year it contains over 40 tomato plants of different varieties, brassicas, carrots, cucumbers, beans and more. It is a thing of beauty and I constantly assure David that I need this much space. Here is how we built it.
Setting the Posts
With the help of our ever present assistants David, his mother and I started setting fence posts. We hand dug and set 25 fence posts to hang the fence on. David, as always, set up the spacing and told us where to dig. As usual, a few posts ended up slightly out of place because I am not a professional post hole digger and good help is hard to find. I am not “good help”. I am cheap help. Cheap help ain’t good help. As usual, my hole digging abilities sent us back to the lumber yard to buy longer boards but I digress.
David’s post placement
As you can see in the photo, David had very specific places to put the post holes. He got over it reasonably quickly.
Posts installed
Once the posts were installed, we began hanging the 2x4 backer rails on our 4x4 posts. The intention was to have spacing to hang 8 foot rails but some of the boards required 10 foot boards cut down to 8 foot and a few inches. He brushed aside my suggestion that he dig his own damn holes from here on out and we bought the longer boards without further commentary.
The fence with rails
At this point, we had the beginnings of a fence that would keep out the dogs but not be of much help with the bunnies. But after digging all those holes, it felt like we were really making fast progress.
David’s pile of custom pickets
Several years ago, we began building fences. We debated on the perfect fence for our historic home and settled on a picket fence. We bought cedar dog eared fence pickets and cut each of them down into four equal pieces to create our three foot tall picket fence. David built a custom jig and cuts each of the pickets twice (three pickets at a time) to create the angles at the top for the picket. Like everything else we do, it's a labor of love that takes a lot of time but less money to end up with a custom made fence that looks exactly the way we want it to. We’ve built at least four of these fences now.
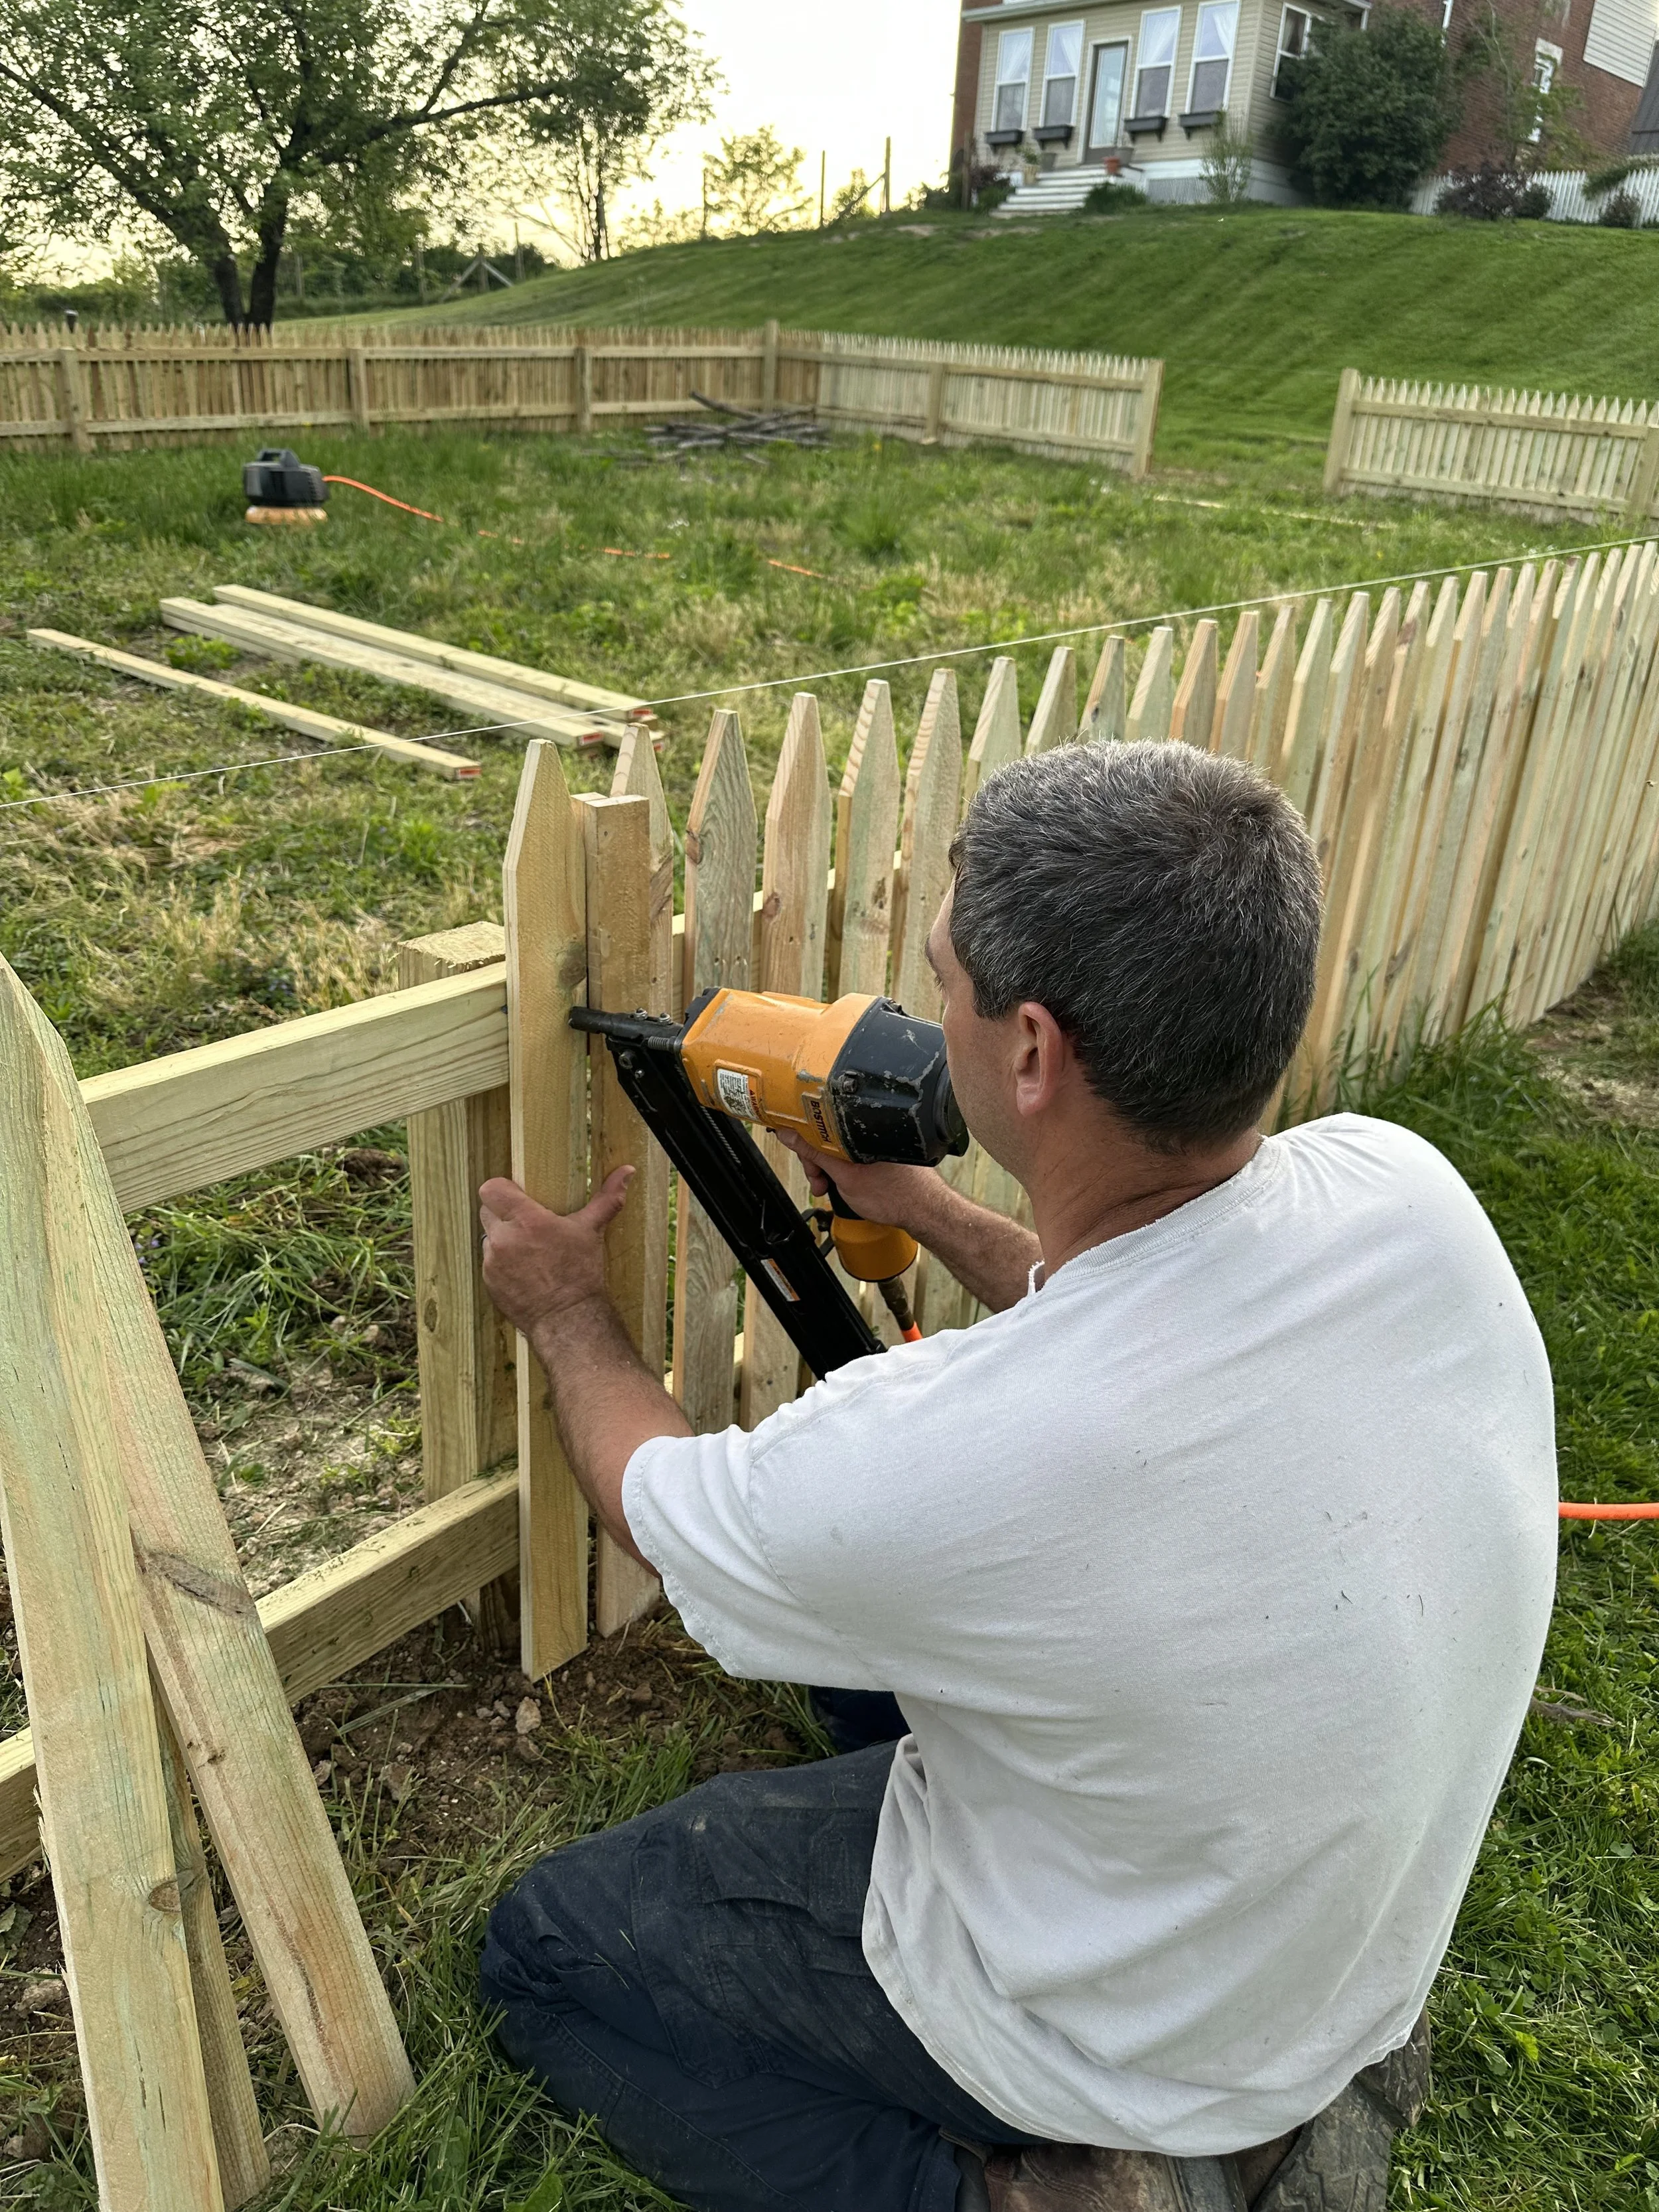
David nailing pickets to the rail boards
When we built our first fence, David hand nailed each of the pickets to the rail boards. After a nasty bout of tendinitis in his elbow that lasted for months, we decided that using an air nailer was a much wiser way to complete this project. Each picket gets four galvanized nails. David has a custom spacer built to allow the same amount of space between each picket that was designed specifically for our fences. The decision process for how wide that space is consisted of him holding boards up at various intervals and me saying “closer, no move them further away, okay go a smidge closer” until we reached what I found to be the most aesthetically perfect spacing. It’s a handy little jig that allows him to move very quickly when nailing the boards up.
All of the pickets installed
It’s important to note that not all of the pickets are the same length. Because the ground is unlevel, we ran a stringer above the pickets to make the fence level. Each of the pickets were then cut to the correct length before being nailed. It makes a uniform height around the fence that we find more pleasing to the eye than following the grade of the land.
Adding the Gate
David hung a gate using repurposed hinges. The gate latches from the inside to keep it from swinging open.
Bunny Proofing
We then installed 2 foot chicken wire around the perimeter of the fence buried at least a foot deep to keep the bunnies from coming under the fence. It will stop them from entering under the fence and eating my lovely vegetable plants.
Plant markers
I added these beautiful copper name markers to identify each of the varieties in the garden.
The garden was stunning last year and fed us for months. There were no losses to those furry little rodents and we have even bigger plans for this year. We hope we have inspired you to start your own vegetable garden. Thanks for stopping by.


